When we have excerpts or chapter reveals on site I do not like to copy and paste that long doc into a post. I have using a Google Embedder but it can get annoying and glitchy. Is there anyway to add a scrolling text box to posts?Juliana
Hi Juliana! This is absolutely possible.  And luckily, it’s super easy to do!
And luckily, it’s super easy to do!
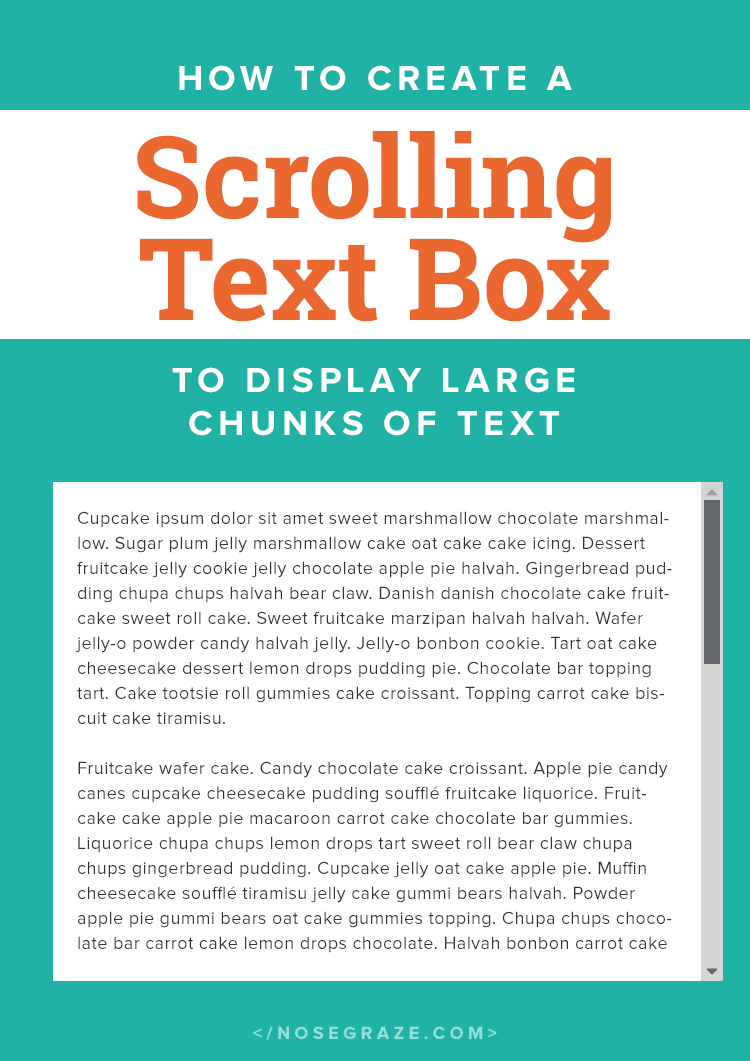
Here’s a preview of what we’ll be creating:
Lorem ipsum dolor sit amet, consectetur adipiscing elit. Vivamus non finibus tortor, sed ullamcorper massa. Cum sociis natoque penatibus et magnis dis parturient montes, nascetur ridiculus mus. Integer nulla lacus, maximus at tristique et, accumsan eget metus. Suspendisse arcu nisl, malesuada sit amet ante et, auctor porttitor nisl. Ut dictum leo metus, ac accumsan sem volutpat ac. Nulla leo eros, ultrices quis gravida id, rutrum at enim. Nam et volutpat nunc. Phasellus eu mollis nisl. Aliquam eget scelerisque ex, in dapibus nibh. Interdum et malesuada fames ac ante ipsum primis in faucibus. Suspendisse mollis sem sed nunc finibus congue. Aliquam fringilla, turpis sed efficitur ultricies, urna dolor pellentesque augue, quis hendrerit nunc mauris nec eros.
Maecenas auctor bibendum ante, quis ultrices magna porta sit amet. Quisque sit amet lorem in erat fermentum mollis. Fusce in pellentesque nisl. Nam bibendum congue sapien, nec pharetra mi commodo vel. Sed suscipit nunc sed nisi consectetur sodales consequat vitae risus. Duis vitae mi eu sem iaculis efficitur vitae eget justo. Aenean et massa ex. Cum sociis natoque penatibus et magnis dis parturient montes, nascetur ridiculus mus. In lacinia, mauris nec semper bibendum, est justo tristique felis, vitae eleifend massa sem et justo. Donec fringilla consequat massa eget cursus. Integer est ante, dignissim vitae ipsum sit amet, semper elementum lorem. Morbi ut augue vestibulum, hendrerit justo non, gravida orci. Phasellus blandit, felis vel sagittis porta, dui elit blandit risus, et commodo nunc leo sed lectus. Cras quis nibh nibh. Nullam id diam massa.
Integer fringilla non neque eget ornare. Sed vel neque id odio mollis accumsan et vitae dui. Nunc eu velit ac nulla dignissim vehicula quis a justo. Interdum et malesuada fames ac ante ipsum primis in faucibus. Nunc porta dolor magna, at malesuada mi ornare et. Aliquam erat volutpat. Aliquam gravida sollicitudin consequat. Sed nec libero nisl. Sed rhoncus odio quis magna molestie, eget laoreet mauris convallis. Nunc non vulputate erat. Donec porta a nulla ut semper. In venenatis aliquet nisi sit amet condimentum. Suspendisse et commodo metus.
Ut faucibus dui sit amet ultrices varius. Phasellus nec accumsan orci, a blandit est. Nulla id lectus in lorem facilisis viverra. Pellentesque diam ligula, tincidunt vel posuere a, lacinia sed leo. Quisque vehicula ipsum vel sapien dignissim facilisis. Etiam consectetur eu lectus convallis pretium. Aenean quis malesuada elit, ut cursus mi. Cras dapibus nibh id tempor semper. Suspendisse at eros elit. Suspendisse lobortis, urna ac rutrum molestie, quam quam dictum nibh, iaculis congue ipsum diam ac odio.
Duis ac nibh condimentum, laoreet nibh quis, viverra purus. Cras et ligula congue, maximus augue eu, venenatis purus. Donec sagittis sed lorem et aliquam. Aliquam quis velit molestie, suscipit neque eget, mattis lorem. Aenean ultrices lacus turpis, sed lacinia metus ullamcorper in. Curabitur iaculis lectus eget lectus malesuada lobortis vitae eu neque. Phasellus vitae egestas diam. Phasellus venenatis dui arcu, sed sollicitudin erat consequat ac. Cras nibh justo, ornare efficitur quam at, molestie mollis ipsum. Suspendisse hendrerit elementum turpis ut elementum. Morbi maximus nisl at massa mollis, dictum scelerisque leo congue. Vestibulum varius eu purus nec aliquet. Mauris in odio eget velit feugiat pharetra eget at arcu. Mauris euismod dictum orci vel hendrerit. Ut semper ligula nec orci volutpat laoreet.
It’s basically a box with a fixed height, and if the text inside that box is longer than the height you’ve set, then a scrollbar gets added.
Don’t like coding? Not to worry! You can download the free plugin instead.
In case you don’t like coding, I’ve created a free plugin you can download instead. It’s at the end of the post!
First, add some custom CSS
This custom CSS needs to be added to your site. If you’re on Blogger, you can follow Stephanie’s guide on how to add CSS in Blogger. If you’re in WordPress, it can be done in a few ways:
- Some themes might have a “Custom CSS” box in the settings panel. You can paste it there.
- If you have Jetpack installed, you should have a section in Appearance » Edit CSS where you can paste custom CSS code.
- Or, you can install and activate the Simple Custom CSS plugin, which will add a new menu under Appearance for custom CSS.
Here’s the actual code you want to add:
.scroll-box {
    height: 400px; /* maximum height of the box, feel free to change this! */
    overflow-y: scroll;
}
If you want, you can also add some extra styling to add a background colour or border. Here are some simple, extra styles:
.scroll-box {
    background: #f4f4f4;
    border: 2px solid rgba(0, 0, 0, 0.1);
    height: 400px; /* maximum height of the box, feel free to change this! */
    padding: 15px;
    overflow-y: scroll;
}
Next, add the HTML to your blog post
Now you can start drafting your new blog post! Make sure you switch to the HTML view (you do NOT want to use the visual editor for this part!) and enter this code:
<div class="scroll-box">

</div>
That’s the one piece of code you have to remember any time you want to add this in. Then, your excerpt, chapter reveal, or other text goes inside the div tags, like this:
<div class="scroll-box">

<p>Your excerpt goes in here!</p>

</div>
And that’s it!
Super easy, right? Just a few lines of CSS and a simple HTML wrapper.
Don’t want to code it yourself? Download the free plugin!
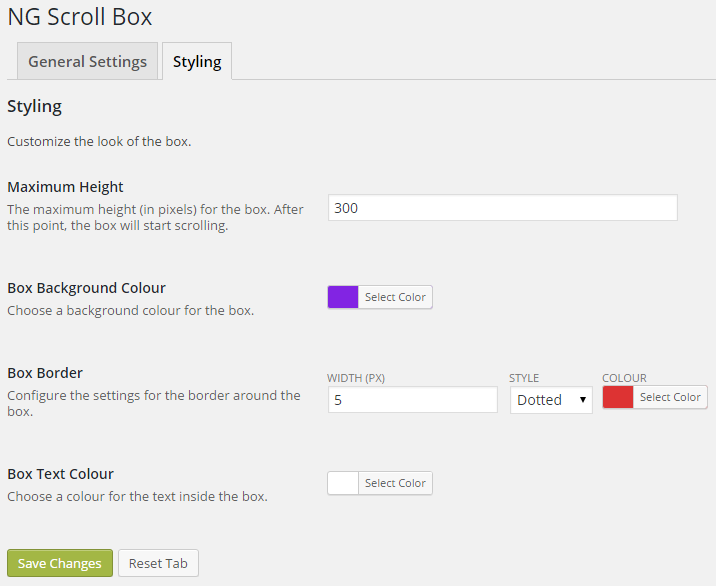
In case HTML and CSS aren’t things you like to mess around with, I’ve created a free WordPress plugin you can use to add your scrolling text box straight from the visual editor. Plus there are a few settings that let you customize it.
Customize the styling.
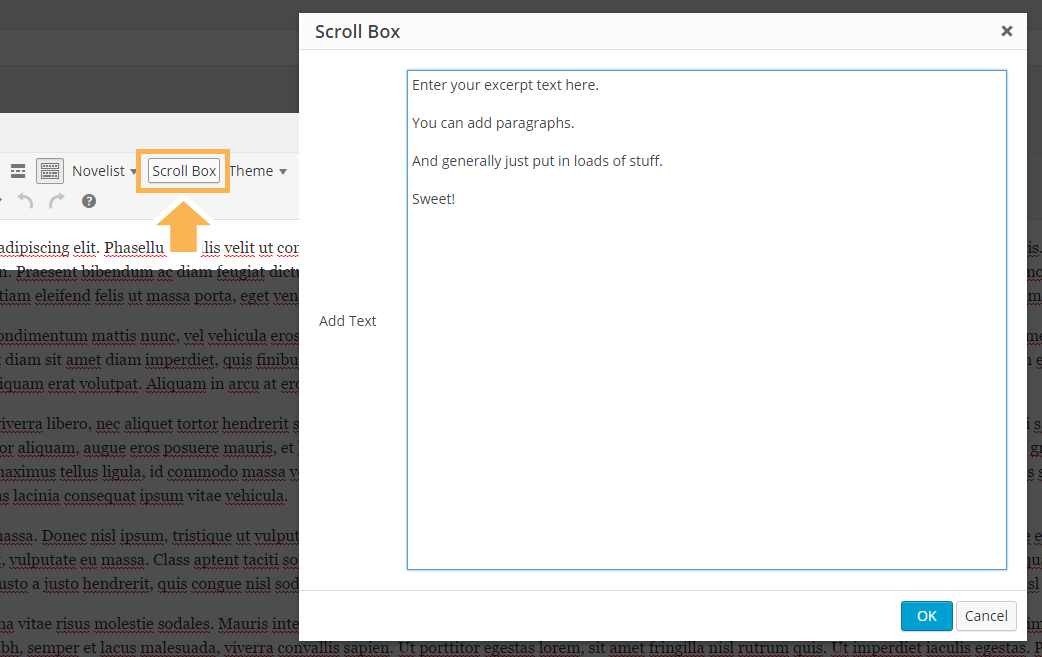
A visual editor button to easily add your box.
When you click the button in your visual editor, a pop up box opens with a text box where you can enter your text.
Enter your email to download the plugin file.
Free Download
Download “Scroll Box Plugin”ng-scroll-box.zip – 17 KB
Comments
Post a Comment