Hello!This is more advanced but I was wondering if you could do a PHP tutorial on how to split posts into two or three columns on the home page? Kind of like:http://www.happyindulgencebooks.com/Thank you!
I’m going to do my best to answer this question, but it’s hard because I can’t give a “one solution fits all” answer. The code I provide here will have to be changed and adapted for your own theme. Everyone’s theme is slightly different, so all I can really do is give a generic response and hope that people reading this are able to change it to suit their own themes!
What we’ll be doing
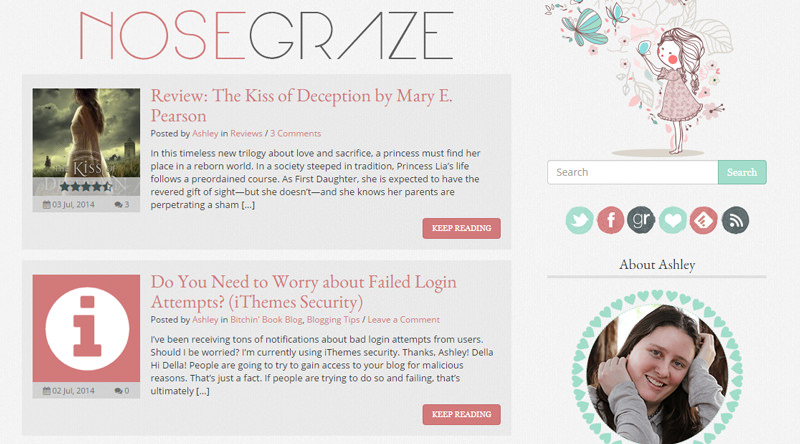
Before
After
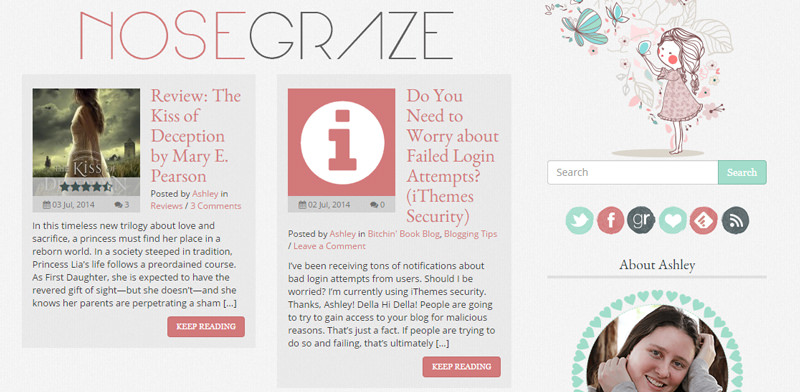
What you see above in “after” is the roughest mockup ever. Sorry.
Requirements
If you’re going to attempt this, I advise the following:
- You are using a custom theme or a custom child theme. In other words, your theme won’t have an “update” that will then delete all your changes.
- You feel at least somewhat comfortable poking around theme files.
- You don’t have to KNOW PHP, but you do have to be comfortable working around it and copying/pasting lines of PHP code.
- You have FTP access to your blog so you can edit the theme files if you make a mistake and your blog becomes inaccessible because of a PHP error.
Step #1: Create column CSS
In order to do this, you need to have some CSS column classes in place. Your theme may already have these, or you may have to make them yourself. But basically what you need is a CSS class that acts as a column. Here’s one example for a two-column (so two posts side-by-side) layout:
.half {
 width: 50%;
 float: left;
}
The key thing is in the width. Since I want two columns, I need my div’s width to be half of 100%, which is 50%. If you wanted three columns, you’d need to set the div to one third of 100, which would be 33.3%.
Note: you can name the div whatever you want. I chose “half” just as an example. In order to avoid conflicts, it might be better to prefix it with something, like: ng-half (I chose “ng” here for “Nose Graze”).
Next, we need a div to wrap around the columns and clear the float. For this example, I’ll use:
.ng-row {
 clear: both;
}
Step 2: Finding your theme’s code for the homepage posts
The next step is finding the right file in your theme that outputs the code on the homepage for displaying your posts. In most themes this is the index.phpfile. However, some themes may have a different structure. For example, in the themes I code, I do have an index.php file, but in that file I tell it to include a separate file, which is where I keep the post code. I call that file loop-archive.php.
Now inside that file, you want to find a very specific block of code:
<?php if (have_posts()) : while (have_posts()) : the_post(); ?>

[..]

<?php endwhile; ?>
There will be a lot of code in between, but you need to find the bit starting with the
if (have_posts()) : while (have_posts()) : the_post(); portion. It may look slightly different from theme to theme, so look carefully. Then you need to find the end bit, which will be <? endwhile; ?>. We’re going to be working in and around this snippet.
This portion of the code is called The Loop. What it does is basically cycle through your WordPress posts. Everything inside that snippet is repeated for each individual post on your homepage.
Step 3: The column code
a) The easy way (may be glitchy)
There is an “easy” way to do this. Right after this line:
<?php if (have_posts()) : while (have_posts()) : the_post(); ?>
Add this code:
<div class="half">
(or whatever your class name was)
And right before this line:
<?php endwhile; ?>
Add this code:
</div>
In the end, your code should look like this:
<?php if (have_posts()) : while (have_posts()) : the_post(); ?>
<div class="half">

[..]

</div>
<?php endwhile; ?>
With the rest of your theme’s code where the
[..] bit is. You’re basically just wrapping your posts inside that column div. However, if your posts have varying heights, this could have some weird, unexpected results. There is a more complex method that is a lot more reliable…b) The more advanced way
The more advanced way looks something like this:
<?php $i = 0; ?>
<?php if (have_posts()) : while (have_posts()) : the_post(); ?>

<?php
if($i == 0) {
 echo '<div class="ng-row">';
}
?>

<div class="half">

[..]

</div>

<?php
$i++;
if($i == 2) {
 $i = 0;
 echo '</div>';
}
?>

<?php endwhile; ?>

<?php
if($i > 0) {
 echo '</div>';
}
?>
Basically what we’re doing it starting a counter inside the code. We start the count at 0, then begin cycling through the posts. The first step is: if the counter is 0, add the div class for a new row. Then, after that, we insert the div class for a column (
<div class="half">), and make sure the rest of the post display stuff from your theme is in there, before closing the div. Then, at the end, we increase the counter by one (so it’s now 1). However, then we need to perform some checks to determine if we should close the row div. Since we want two columns, we say: if the counter is 2, reset the counter to 0, then close the row div.
Once that’s done, The Loop (cycling through the posts) ends with
<?php endwhile; ?> But what happens if the loop ends when the counter is only at 1? We won’t have closed the row div! So, we perform one final check at the end: if the counter is greater than 0, close the row div.And that’s it!
If you’re not familiar with coding, I know this can look kind of confusing and intimidating.. especially if you’ve never seen/touched much PHP before. And since all themes have slightly different structures and layouts, it’s hard to have a “one size fits all” solution. Ultimately, you have to just try to apply the same logic to the theme that you have.
Just change the values for different numbers of columns
If you’re able to get it working with two columns, you can even try making it work with any number! You just have to change the values in the CSS (the div width) and in the PHP counter.
The Annie Sloan Hands logo (pictured in the photograph above) is a trademark of Annie Sloan Interiors Ltd.
You know what one of the biggest must-haves is when designing your own logo? A huge bundle of inspiration. That’s why I love those super cheap bundles of hundreds of fonts, vectors, and other assets. They’re so much fun to peruse and get inspired!
In honour of The Hungry JPEG’s most recent bundle I’m going to teach you how to create your very own logo design.
Recommended programs & resources
- Photoshop
- Illustrator
- Bridge (optional)
The Hungry JPEG’s July bundle(check out the otherbundle available now!)
Ready to get started?
Step #1: Install every single font!
This is where I like to begin. Fonts are my biggest inspiration. When I see a font I like, I can start to put together all the other pieces in my mind. So let’s start here!
The Hungry JPEG now has a “Quick Install” feature for fonts, where you can easily install all your new fonts at once!
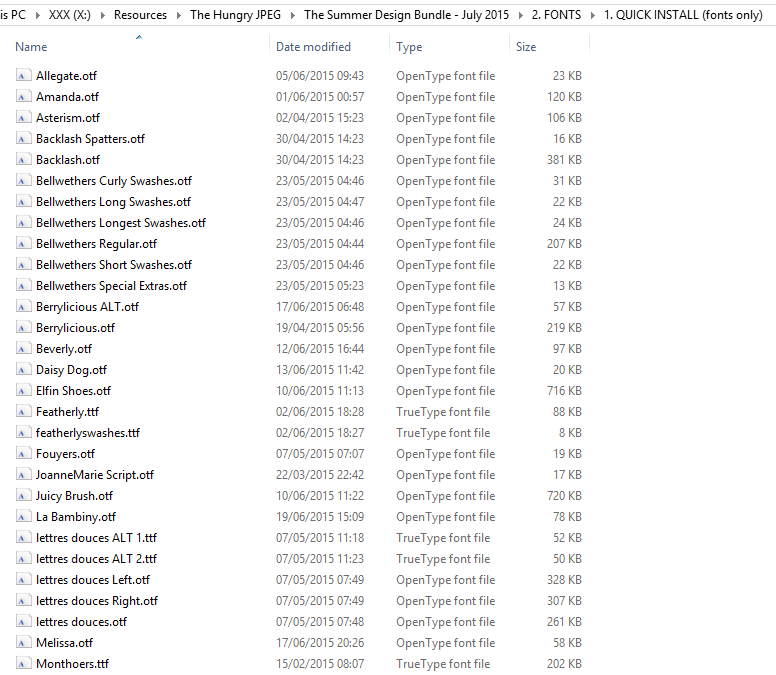
I just dragged all the fonts into my “Fonts” folder, but the instructions for each computer may vary slightly. Luckily they also include some Quick Install instructions in the download pack!
Step #2: Open up Photoshop and play with fonts!
Here’s where things get awesome.
I open up a nice, big Photoshop document. In this case I’m going with 1000×1000 to give me plenty of room to play.

I like to start out with a neutral colour, like #333333. It’s a nice, dark charcoal. Just a few shades lighter than black. Because at this point, I don’t have a colour scheme in mind yet.
Then, start writing your blog/business name in each of the fonts. I keep each font on a new layer so I can easily toggle between them. As I go, I delete the ones I’m not particularly interested in.
Here are the choices I ended up with:
From top to bottom, those fonts are:
- Beverly
- Lettres Douces
- Violla
- Sortdecai Handmade Script
Right now I haven’t decided which font I like best, so I’m going to move onto the next step, which is getting inspiration from the graphical assets.
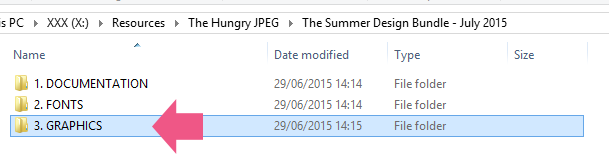
Step #3: Finding graphics to accompany the text
This is when I start perusing through the Graphics folder included in the bundle.
Typically what I do is open up the folder in Adobe Bridge. I do this because Bridge provides great previews of all files (PSD, Illustrator, etc.).
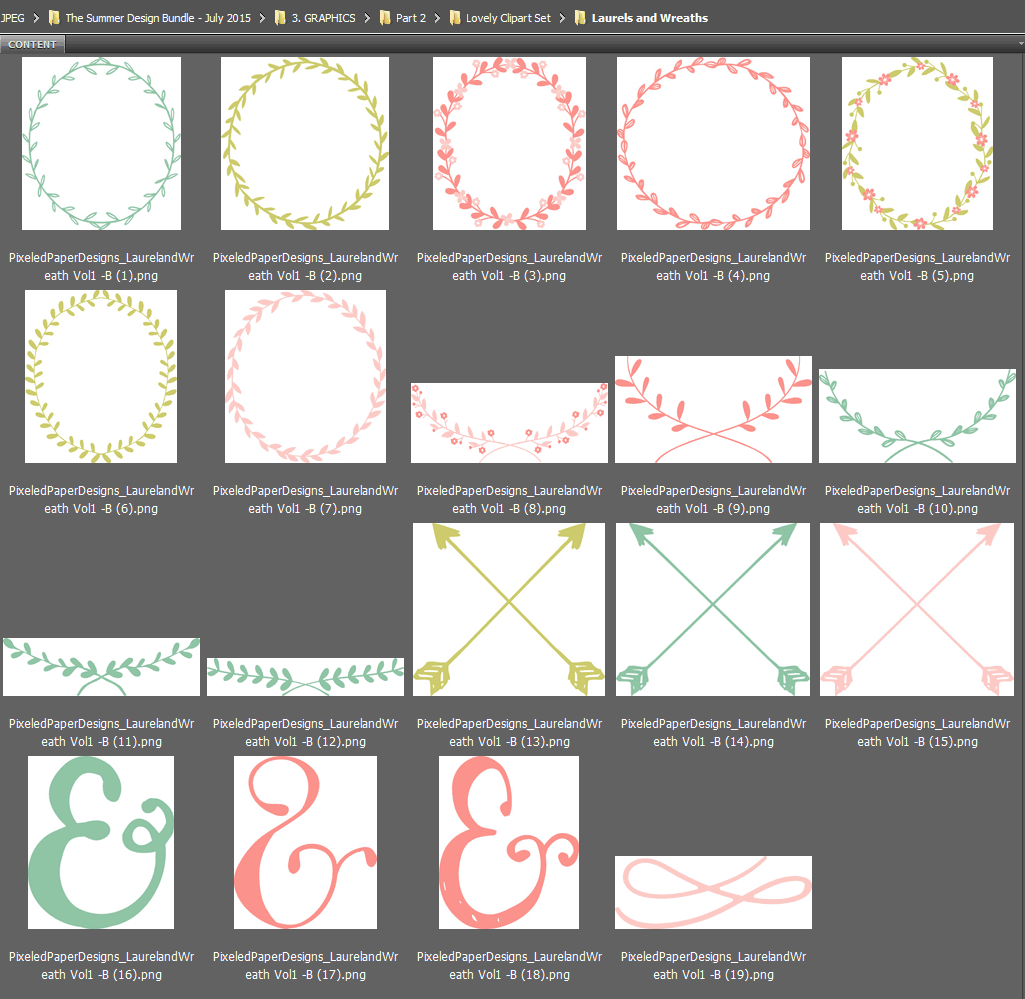
I literally just browse through the folders looking for inspiration. I start pulling together and exporting any assets that interest me. They don’t have to make sense or go together, I just start collecting ideas.
Any time I come across a graphic I like, I paste/export it into a blank Photoshop document, because Photoshop is my program of choice. In order to preserve the vectors, I make sure to save them as Smart Objects whenever possible.
The smart object allows me to continue resizing vector graphics because it doesn’t rasterize them (as it would had I selected “Pixels”).
Each asset is also on its own layer so I can easily move things around and copy them to another document.
Here’s what I ended up with:
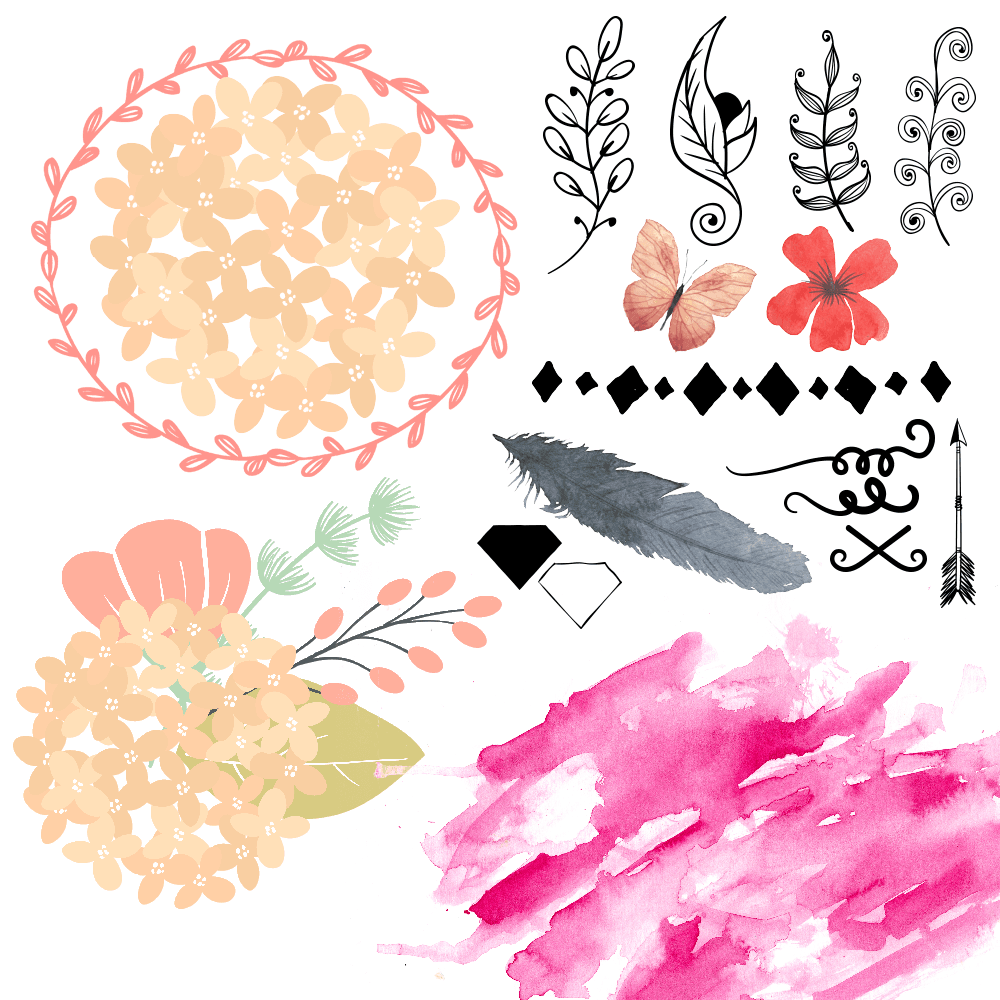
As I said, these are all very different. It’s kind of a wild collection, but that’s okay. I may not use them all in my logos, and I certainly won’t use them all in one logo.
Step #4: Mix and match fonts and graphics to create tons of different logos!
Once you have all your graphics, it’s time to put them together with fonts!
The goal here isn’t to just create one logo and stick with it. You want to create tons of different logos. We do this because your first logo probably won’t be the best or your favourite. But the more you experiment and play around, the better your logos will get. It’s better to give yourself plenty of options.
Logo #1
It’s super simple and I even used the colour that came with the laurel (it’s gorgeous!). You’ll notice that I paired it with one of my chosen fonts (Lettres Douces). But there was a lot of empty space around “Nose Graze” so I also added a tagline in Source Sans Pro.
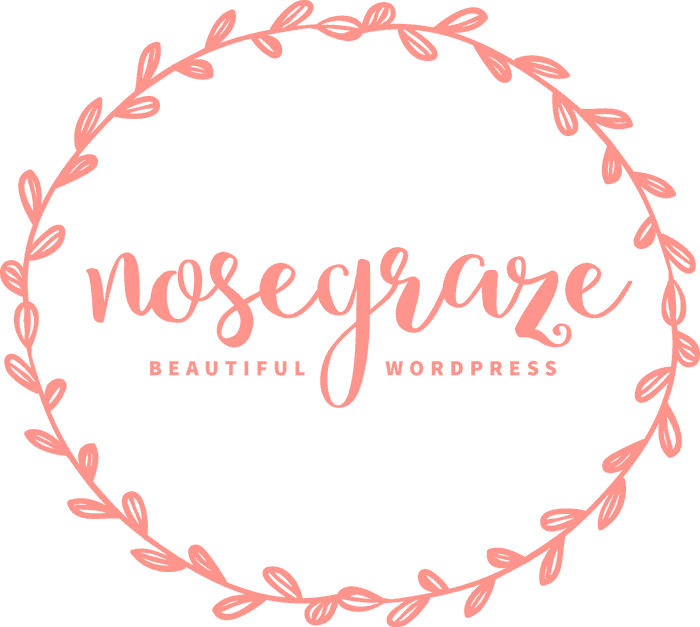
Logo #2
This one is using one of the floral graphics. I went with the same font as in logo #1. I think I’m starting to really love this font! I’m not 100% on the colour of the Nose Graze text though. I used the colour of the branch, but It seems a tad out of place.
Logo #3
I’M MASSIVELY IN LOVE WITH THIS ONE!! This one is the most “me” so far. It’s easily the simplest one so far and it took all of two seconds to make, but I LOVE IT!!
This time I used the Sortdecai Handmade Script font. I knew straight away that the whole “nosegraze” I had written out before wouldn’t fit, so I cut it down to just “ng” and it fit in the diamond perfectly!
I could even do a cool inverted version with the filled in diamond:
Keep going until you’re happy (or even past that point)
I’m super happy with my diamond logo, but I could even keep going if I wanted. True, the diamond logo may still be my favourite, but you never know what else will come along.
Typically when I create logos I have a very long process:
- Experiment
- Find one I love
- Keep experimenting
- Start trashing the ones I no longer like
- Let the logos sit for a few days
- Come back to them with a fresh set of eyes
- Keep tweaking and adjusting
And I do all that until I’m 100% happy with a logo. Otherwise, sometimes I make a logo, love it, but then three days later I realize that I’m already sick of it. So it’s important to let those logos sit for a while to ensure that you’re going to keep loving them long-term.
Looking for more logo design tips? Download my free list of logo design dos and don’ts!
I’ve put together a list of 7 things you should NOT do when designing your logo and 7 things you SHOULD do. Enter your email below to get the list.
Comments
Post a Comment